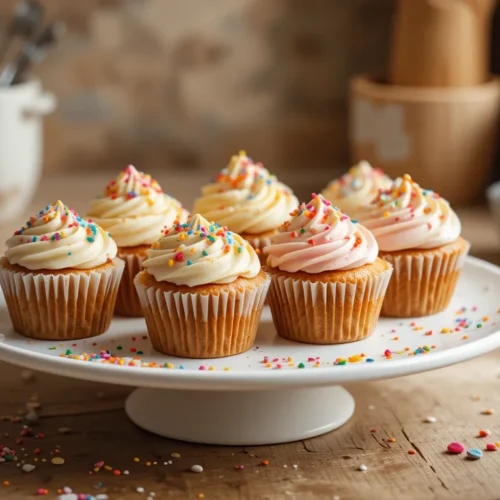
Who doesn’t love the charm of mini cupcakes? These bite-sized delights are more than just desserts they’re little bursts of happiness waiting to be savored. Whether you’re hosting a party, celebrating a special occasion, or simply treating yourself on a quiet afternoon, mini cupcakes bring a touch of whimsy and joy to every moment.
As someone who’s experimented with countless recipes, I can confidently say that these magical treats are as easy to make as they are delightful to eat. From their fluffy texture to the endless possibilities for decoration, mini cupcakes offer something for everyone. Imagine serving them at your next gathering each one uniquely decorated, leaving your guests in awe. Ready to unlock the secrets behind these heartwarming bites? Let’s dive in!
Table of Contents
Key Benefits of Making Mini Cupcakes
There’s something truly magical about mini cupcakes they’re not just smaller versions of regular cupcakes; they’re a celebration in themselves! Here’s why these delightful treats deserve a spot in your baking repertoire:
- Perfect for Sharing: With their bite-sized charm, mini cupcakes are ideal for parties, potlucks, or even as a sweet gesture for friends and family.
- Customizable to Your Heart’s Content: Whether you prefer classic vanilla, rich chocolate, or fruity flavors, the possibilities are endless. Plus, decorating them is half the fun!
- Easy to Make: Don’t let the “magic” fool you these cupcakes are surprisingly simple to whip up, even for beginners. Just follow the steps, and voilà!
- Versatile for Any Occasion: From birthday celebrations to holiday gatherings, mini cupcakes add a touch of whimsy and delight to any event.
Did you know that mini cupcakes also bake faster than their full-sized counterparts? This means less waiting and more time for enjoying your creations. And if you’re looking to impress without much effort, these little wonders are your secret weapon. Let’s get started on creating some magic together shall we?
Ingredients for Mini Cupcake Magic
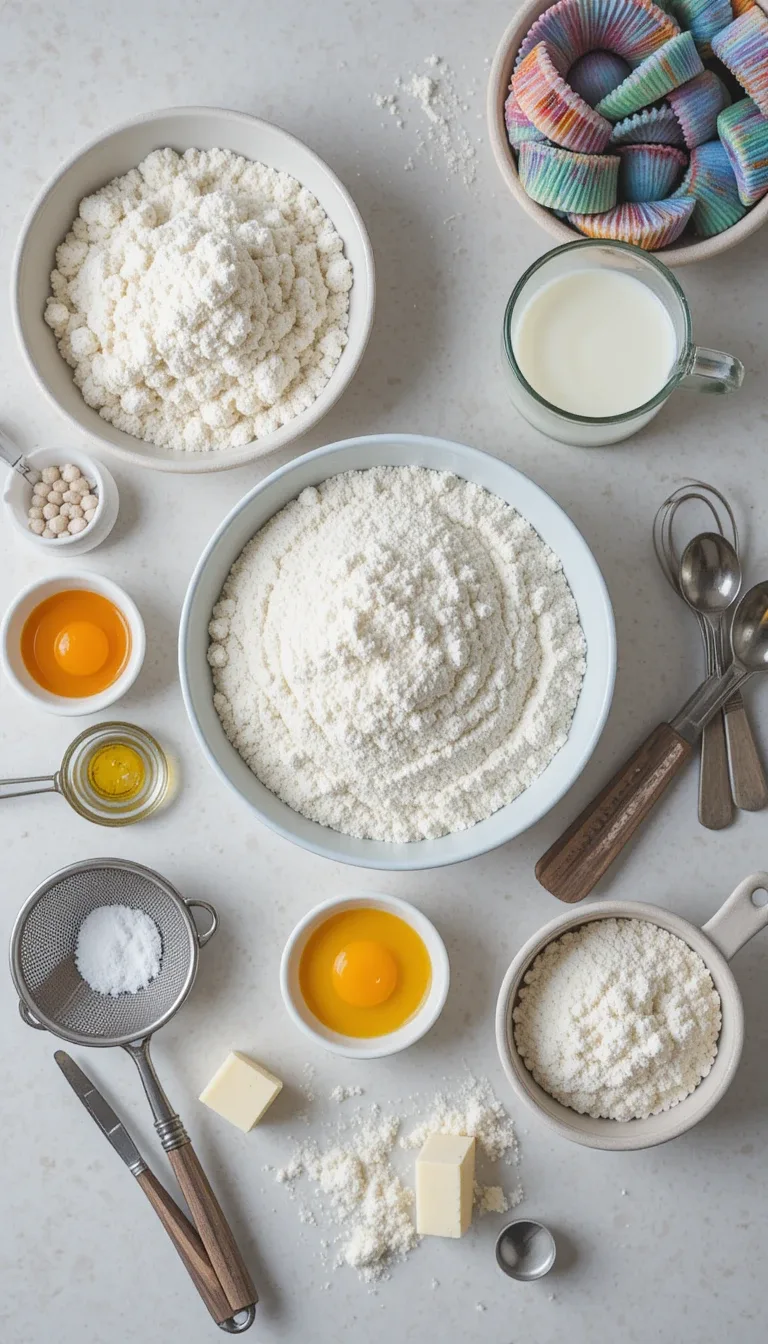
Before we dive into the baking process, let’s gather our tools and ingredients. Having everything ready will make the experience smoother and more enjoyable trust me, it’s like setting the stage for a delightful culinary adventure! Here’s what you’ll need:

Dry Ingredients
- 1 ½ cups all-purpose flour: This is your base for achieving that perfect texture. (For gluten-free options, use a 1:1 gluten-free flour blend.)
- 1 ½ teaspoons baking powder: Essential for those fluffy mini cupcakes we all adore.
- ¼ teaspoon salt: A pinch of salt enhances the sweetness and balances the flavors.
Wet Ingredients
- ½ cup unsalted butter, softened: Softened butter ensures smooth mixing and a creamy batter.
- 1 cup granulated sugar: Sweetness is key here, but feel free to adjust based on your preference.
- 2 large eggs: They add richness and structure to the cupcakes.
- 1 teaspoon pure vanilla extract: A must-have for that warm, inviting aroma.
- ½ cup whole milk or dairy-free alternative: Milk helps create a moist crumb, but almond or oat milk works beautifully too.
Optional Add-Ins
- Chocolate chips, fruit zest, or extracts: Want to take your mini cupcakes to the next level? These are your secret weapons for added flavor and excitement.
Pro tip: Measure your dry ingredients carefully using a spoon-and-level method to avoid dense cupcakes. And if you’re feeling adventurous, experiment with different extracts like almond or coconut for a unique twist. Now that we’ve got our ingredients sorted, let’s move on to the fun part baking!
Instructions: Crafting Your Mini Cupcake Masterpiece
Now that we’ve gathered our ingredients, it’s time to bring these mini cupcakes to life! Follow these simple steps for perfectly fluffy, heartwarming treats every time.

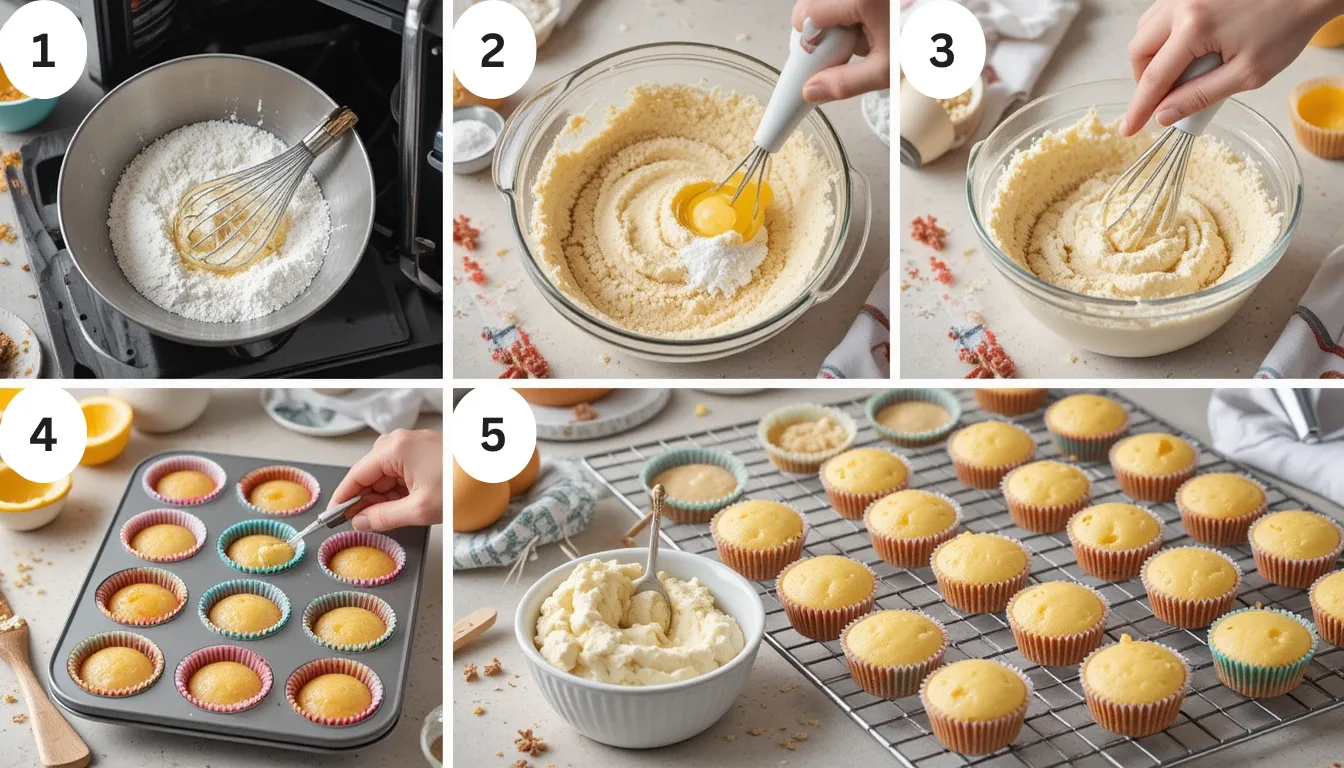
Step 1: Preheat and Prepare
- Preheat your oven to 350°F (175°C) . This ensures even baking from the start.
- Line a mini muffin tin with cupcake liners. Not only do they make removal easier, but they also add a pop of color to your creations!
Step 2: Mix the Dry Ingredients
- In a medium bowl, whisk together the flour, baking powder, and salt. This step may seem basic, but it helps distribute the leavening agents evenly, ensuring those cupcakes rise beautifully.
Step 3: Cream the Butter and Sugar
- Using a hand mixer or stand mixer, beat the softened butter and sugar until light and fluffy. This process incorporates air into the batter, which is key to achieving that soft texture we all love.
Step 4: Add the Eggs and Vanilla
- Add the eggs one at a time, ensuring each egg is fully incorporated before adding the next. Then, stir in the vanilla extract. This step adds depth and richness to your cupcakes.
Step 5: Combine Wet and Dry Ingredients
- Gradually mix in the dry ingredients alternately with the milk, beginning and ending with the flour mixture. Be gentle here overmixing can lead to dense cupcakes. Fold just until combined for that perfect crumb.
Step 6: Portion and Bake
- Spoon the batter evenly into the prepared liners, filling each about ¾ full . This prevents overflow during baking.
- Bake for 12-15 minutes, or until a toothpick inserted in the center of a cupcake comes out clean. Every oven is unique, so keep an eye on them toward the end of the baking time.
Step 7: Cool and Decorate
- Allow the cupcakes to cool in the tin for a few minutes, then transfer them to a wire rack to cool completely. Cooling is crucial it prevents frosting from melting once you decorate.
And there you have it! A batch of delightful mini cupcakes ready for their final touch frosting and embellishments. Speaking of which, let’s explore some creative ways to take your cupcakes to the next level in the next section. Happy baking!
Pro Tips and Variations: Taking Your Mini Cupcakes to the Next Level
Now that you’ve mastered the basics, let’s dive into some expert tips and creative variations to make your mini cupcakes truly stand out. Whether you’re a seasoned baker or just starting, these ideas will help you customize and elevate your treats effortlessly.
Pro Tips for Perfect Results
- Avoid Overmixing: Once you combine wet and dry ingredients, mix gently until just combined. Overmixing can lead to tough cupcakes instead of light, fluffy ones.
- Test for Doneness: Use a toothpick inserted into the center of a cupcake. If it comes out clean, they’re ready! This simple trick ensures perfectly baked results every time.
- Let Them Cool Completely: Before frosting, allow your cupcakes to cool fully. A warm cupcake will melt the frosting, ruining all your hard work.
Delicious Flavor Variations
Switch up your base recipe with these exciting twists:
- Chocolate Lovers: Swap half the flour for cocoa powder and add a splash of espresso for an intense chocolate flavor. Fill the center with chocolate ganache for extra indulgence.
- Fruit-Filled Delight: Fold in fresh berries like blueberries or raspberries for a burst of fruity goodness. Alternatively, swirl in lemon curd for a zesty kick.
- Spiced Wonders: Add a teaspoon of cinnamon or nutmeg for a cozy, autumnal twist. Pair this with cream cheese frosting for a match made in heaven.
Creative Filling Ideas
Take your mini cupcakes from ordinary to extraordinary by adding fillings:
- Pastry Bag Method: After baking, use a small round tip to create a hole in the center and pipe in fillings like jam, caramel, or whipped cream.
- Crushed Candy: Fill the cupcakes with crushed candy pieces for a colorful surprise when bitten into. Think peppermint for holidays or gummy bears for fun parties.
Gluten-Free and Dairy-Free Options
- Replace all-purpose flour with a high-quality gluten-free blend to make your cupcakes accessible to everyone.
- Substitute dairy milk with almond, oat, or coconut milk, and use vegan butter for a plant-based version that’s just as delicious.
With these tips and variations, your mini cupcakes can adapt to any occasion or dietary preference. Experiment freely and enjoy the process it’s all part of the magic!
Serving Suggestions: Make Your Mini Cupcakes Shine
Your mini cupcakes are baked, cooled, and beautifully decorated now it’s time to showcase them in a way that truly wows! Here are some creative ideas to serve these delightful treats at any occasion, ensuring they steal the show.
For Parties and Gatherings
- Cupcake Towers: Arrange your mini cupcakes on tiered stands or cake pedestals for an elegant display. This not only looks stunning but also makes it easy for guests to grab and enjoy.
- Themed Decorations: Match the cupcake designs with the party theme. For example, pastel colors for baby showers, festive sprinkles for holidays, or bold hues for birthdays.
As Gifts
- Cupcake Boxes: Package your mini cupcakes in cute cupcake boxes or cellophane bags tied with ribbons. These make adorable gifts for friends, coworkers, or teachers.
- DIY Cupcake Jars: Layer unfrosted mini cupcakes in a mason jar with layers of candy, cookies, or small toys. Add a personalized tag for a thoughtful touch.
Casual Snacks
- Snack Platters: Place mini cupcakes alongside other bite-sized snacks like fruit skewers, cheese cubes, or chocolate-dipped pretzels for a casual yet impressive spread.
- Grab-and-Go Containers: Store mini cupcakes in portable containers for a quick and sweet treat during busy days or road trips.
Special Occasions
- Wedding Favor Cups: Mini cupcakes are perfect as wedding favors. Personalize them with monograms or wedding colors for a memorable keepsake.
- Holiday Delights: Use seasonal flavors and decorations to match the occasion. Think pumpkin spice for fall, peppermint for winter, or lemon zest for spring.
Actionable Tip
Always consider the setting when serving mini cupcakes. Whether it’s a formal event or a cozy get-together, presentation plays a huge role in enhancing the experience. Don’t be afraid to mix and match flavors, textures, and decorations to create a unique vibe.
With these serving suggestions, your mini cupcakes will bring joy and charm to any table. So go ahead, share the love, and watch as these little delights light up faces everywhere!
Conclusion: Your Mini Cupcake Journey Awaits
There’s something undeniably magical about mini cupcakes they’re more than just dessert; they’re a canvas for creativity, a source of joy, and a way to bring people together. From the first step of mixing ingredients to the final flourish of decoration, every moment in this baking journey is an opportunity to express yourself and create something truly special.
Whether you’re crafting these delightful treats for a party, gifting them to a loved one, or simply indulging in a sweet reward after a long day, mini cupcakes offer endless possibilities. The best part? They’re approachable for bakers of all skill levels, making the process enjoyable and rewarding no matter your experience.
So, roll up your sleeves, gather your tools, and let your imagination run wild. Remember, baking is not just about following a recipe it’s about experimenting, learning, and having fun along the way. With these tips, variations, and serving ideas, you’re equipped to turn ordinary moments into extraordinary ones with your very own mini cupcake creations.
Now, it’s your turn to spread some charm and delight. Happy baking, and don’t forget to savor the sweetness of success one bite at a time!

Mini Cupcakes
Ingredients
Dry Ingredients
- 1 ½ cups all-purpose flour: This is your base for achieving that perfect texture. For gluten-free options, use a 1:1 gluten-free flour blend.
- 1 ½ teaspoons baking powder: Essential for those fluffy mini cupcakes we all adore.
- ¼ teaspoon salt: A pinch of salt enhances the sweetness and balances the flavors.
Wet Ingredients
- ½ cup unsalted butter softened: Softened butter ensures smooth mixing and a creamy batter.
- 1 cup granulated sugar: Sweetness is key here but feel free to adjust based on your preference.
- 2 large eggs: They add richness and structure to the cupcakes.
- 1 teaspoon pure vanilla extract: A must-have for that warm inviting aroma.
- ½ cup whole milk or dairy-free alternative: Milk helps create a moist crumb but almond or oat milk works beautifully too.
Optional Add-Ins
- Chocolate chips fruit zest, or extracts: Want to take your mini cupcakes to the next level? These are your secret weapons for added flavor and excitement.
Pro tip: Measure your dry ingredients carefully using a spoon-and-level method to avoid dense cupcakes. And if you’re feeling adventurous, experiment with different extracts like almond or coconut for a unique twist. Now that we’ve got our ingredients sorted, let’s move on to the fun part baking!
Instructions
Step 1: Preheat and Prepare
- Preheat your oven to 350°F (175°C) . This ensures even baking from the start.
- Line a mini muffin tin with cupcake liners. Not only do they make removal easier, but they also add a pop of color to your creations!
Step 2: Mix the Dry Ingredients
- In a medium bowl, whisk together the flour, baking powder, and salt. This step may seem basic, but it helps distribute the leavening agents evenly, ensuring those cupcakes rise beautifully.
Step 3: Cream the Butter and Sugar
- Using a hand mixer or stand mixer, beat the softened butter and sugar until light and fluffy. This process incorporates air into the batter, which is key to achieving that soft texture we all love.
Step 4: Add the Eggs and Vanilla
- Add the eggs one at a time, ensuring each egg is fully incorporated before adding the next. Then, stir in the vanilla extract. This step adds depth and richness to your cupcakes.
Step 5: Combine Wet and Dry Ingredients
- Gradually mix in the dry ingredients alternately with the milk, beginning and ending with the flour mixture. Be gentle here overmixing can lead to dense cupcakes. Fold just until combined for that perfect crumb.
Step 6: Portion and Bake
- Spoon the batter evenly into the prepared liners, filling each about ¾ full . This prevents overflow during baking.
- Bake for 12-15 minutes, or until a toothpick inserted in the center of a cupcake comes out clean. Every oven is unique, so keep an eye on them toward the end of the baking time.
Step 7: Cool and Decorate
- Allow the cupcakes to cool in the tin for a few minutes, then transfer them to a wire rack to cool completely. Cooling is crucial it prevents frosting from melting once you decorate.
- And there you have it! A batch of delightful mini cupcakes ready for their final touch frosting and embellishments. Speaking of which, let’s explore some creative ways to take your cupcakes to the next level in the next section. Happy baking!
Notes
Nutrition Information (Per Serving)
| Nutrient | Amount |
| Calories | 120 kcal |
| Total Fat | 5 g |
| Saturated Fat | 3 g |
| Cholesterol | 35 mg |
| Sodium | 100 mg |
| Total Carbohydrates | 17 g |
| Dietary Fiber | 0.5 g |
| Sugars | 10 g |
| Protein | 2 g |
FAQs: Your Mini Cupcake Questions, Answered
Before you dive into your mini cupcake adventure, here are answers to some common questions that might pop up along the way. Let’s tackle them together so you can bake with confidence!
1. Can I use a regular cupcake recipe for mini cupcakes?
Absolutely! Most standard cupcake recipes work perfectly for mini versions. Just remember to adjust the baking time mini cupcakes typically need 12-15 minutes instead of the usual 18-20 minutes for regular-sized ones. Keep an eye on the cupcakes toward the end of the baking time to prevent overbaking.
2. How do I prevent my mini cupcakes from sticking to the liners?
Use high-quality cupcake liners designed for mini muffin tins. If you’re still concerned, lightly grease the inside of each liner with cooking spray or butter before filling them with batter. This ensures smooth removal every time.
3. Can I freeze mini cupcakes?
Yes, freezing is a great option for extending their shelf life. Allow the cupcakes to cool completely, then wrap them individually in plastic wrap and place them in an airtight container or freezer bag. They’ll stay fresh for up to three months. Thaw the cupcakes by leaving them at room temperature for a few hours.
4. What if my cupcakes don’t rise properly?
Several factors could be at play here:
- Ensure your baking powder is fresh (it loses potency over time).
- Don’t overmix the batter, as this can lead to dense cupcakes.
- Preheat your oven fully and bake in the center rack for even heat distribution.
5. How can I make my frosting stand out?
For a professional finish, try piping techniques using different nozzle tips. Experiment with swirls, rosettes, or stars to add visual appeal. You can also incorporate edible glitter, sprinkles, or fresh fruit slices for extra flair.
6. Are there healthier alternatives for making mini cupcakes?
Definitely! Swap all-purpose flour for whole wheat or almond flour, use honey or maple syrup instead of granulated sugar, and opt for Greek yogurt or applesauce in place of oil or butter. These tweaks maintain flavor while boosting nutritional value.
7. How long do mini cupcakes last?
Stored in an airtight container at room temperature, mini cupcakes will stay fresh for 2-3 days. For best results, frost them right before serving to preserve texture and flavor.
With these FAQs addressed, you’re now fully equipped to conquer the world of mini cupcakes. Happy baking and don’t hesitate to reach out if you have more questions!

